How to Recycle & Use Items Around Your Home and Create Beautiful Outdoor Entertaining Areas Like This Fire Pit Outdoor Haven
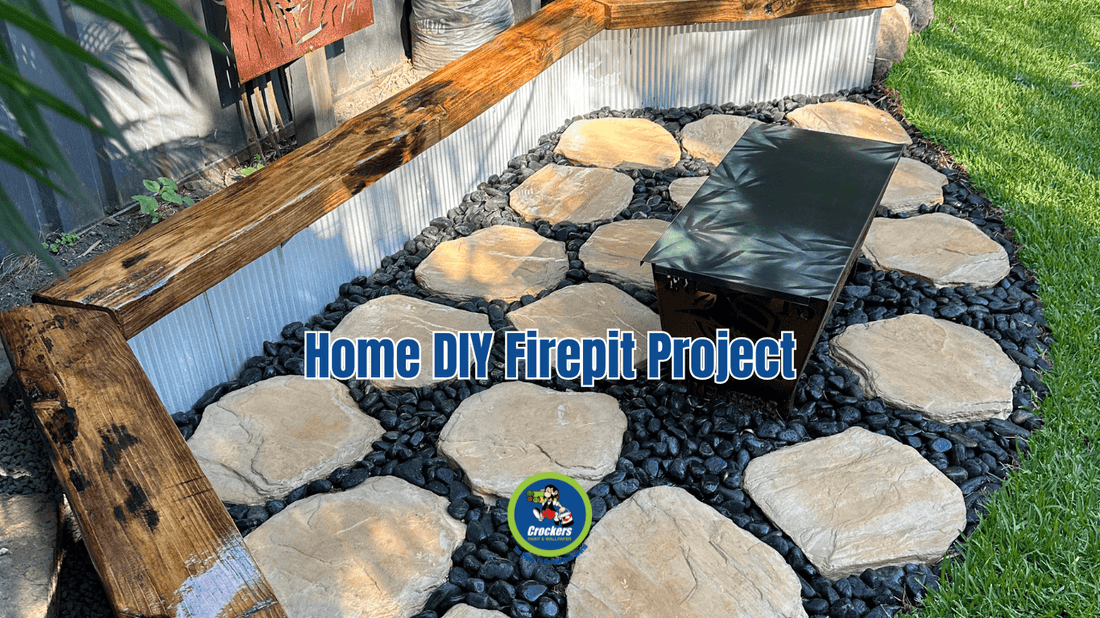
In this blog, we show you how Shaun transformed an area in his backyard into a useful entertaining area that is now enjoyed by friends and family. He used salvaged materials and, with some imagination and an understanding of how certain paint products could be used, he got to work.
CLICK TO WATCH SHORT VIDEO
Step-by-Step Guide to Creating Your Own Fire Pit Outdoor Haven
Step 1: Decide on the Location
The first step was to decide where the fire pit area could be. Shaun then dug out the grass and leveled the ground to prepare the space.
Step 2: Gather Materials
Shaun gathered up the silver mini orb, which he had in storage. These were previously used in the Central Road Miranda store as counter fronts.

Step 3: Reuse Old Timber
The timber seats were from a 20-year-old garden bed that was an old veggie garden, right where the new fire pit lies now.
Step 4: Sand and Clean the Timber
The seats were sanded back using a Mirka Deros Sander and cleaned with Norclean Plus to remove any dust or residue from the surface.

Step 5: Repair and Protect the Timber
Norglass Liquid Glass was used to cover the camel tooth and other rotted areas on the timber seats. Norglass Microshield was then used to coat the timber. Two coats were applied.


Microshield has exceptional UV protection, making it a great choice for the seats. The high gloss stays clean and feels nice to sit on.

Step 6: Paint the Fence
The Colourbond fence was painted with Haymes New Life Exterior Acrylic (previously Krysler Weathertuff) in the colour Monument.
Step 7: Utilize Bamboo Shoots For a Decorative Screen
The bamboo shoots come from bamboo plants in the garden and are also used as kindling to start the fire. Shaun chose to let the bamboo weather, but these could also be coated with Haymes Dexpress if more colour is required.

Step 8: Create a Timber Privacy Screen
The timber privacy screen above is coated and protected with Haymes Uvex.

Step 9: Place Stepping Stones and Pebbles
The stepping stones and pebbles were placed, and Wonderseal was used to seal the stone stepping stones. This product repels dirt and moisture, helping the stones stay cleaner and mildew-free.

Step 10: Feature the Fire Pit
The fire pit is the feature piece, proudly displaying the Sharkies Premiers 2016 logo. The cover for the fire pit is one of our old store metal shelves, coated with Anchorshield Satin Black. A cool camo design was done using a bamboo leaf as the stencil with MTN 94 spray paint in a camo green color.

Step 11: Create a Unique Umbrella Base
The umbrella base is a 15-liter plastic empty paint drum. The plastic base was filled with concrete and then painted with the spray using palm leaves as the stencil.

Enjoy Your New Outdoor Haven
Now Shaun, Nicole, and their family have a beautiful area they can use both day and night. Shaun says the best thing about it is that they don’t have to go far to go on an outback holiday. They just walk out the back door, and they are there! No fuel expenses and all made from recycled materials using some imagination and quality paint products to preserve the surfaces and beautify the area.


The Camel Tooth Story
In 2014, Shaun and his son Lleyton went on an adventure across The Simpson Desert. Along the Hay River Track, right in the middle of the desert, they stopped for a break and found the camel tooth lying in the sand. They brought it home as a souvenir, knowing it would be used in the yard somewhere. Now it’s a talking point and brings back memories of their 2014 holiday across the Simpson Desert, where they stayed with Lindsay Bookie, an Aboriginal elder in the area along The Hay River Track.


1 comment
Awesome Shaun.
Clever use of products around the yard with little cost!